
Table of Contents
- Overview 😊
- Considerations 💡
- Update Individual Products
- Steps
- Enabling Support for Shopify Multi-Origin Inventory
- Update Variant Products
- Update Products via Bulk Import/Export
- Adding Reusable Attributes to the Bulk Editor
- Types of Metafields ⚠️
- Next Steps
Overview 😊
When setting rules for certain products on Shopify, you'll need to assign specific attributes to these products. These attributes can be Shipping Groups, Origins, Packing Rules, or product dimensions (L, W, H). You can update product attributes individually or in bulk. This guide will show you how to do both.
Considerations 💡
When updating Shopify attributes, ensure you are editing the Parent product or the child/variant product as needed. For attributes on a variant/child product, make sure ShipperHQ is set to look at the variants/child attributes.
Update Individual Products
Steps
- In your Shopify backend, go to the Product Catalogue and view one of your products.
- Under the "More Actions" dropdown on your product details, click "Edit Shipping Properties".
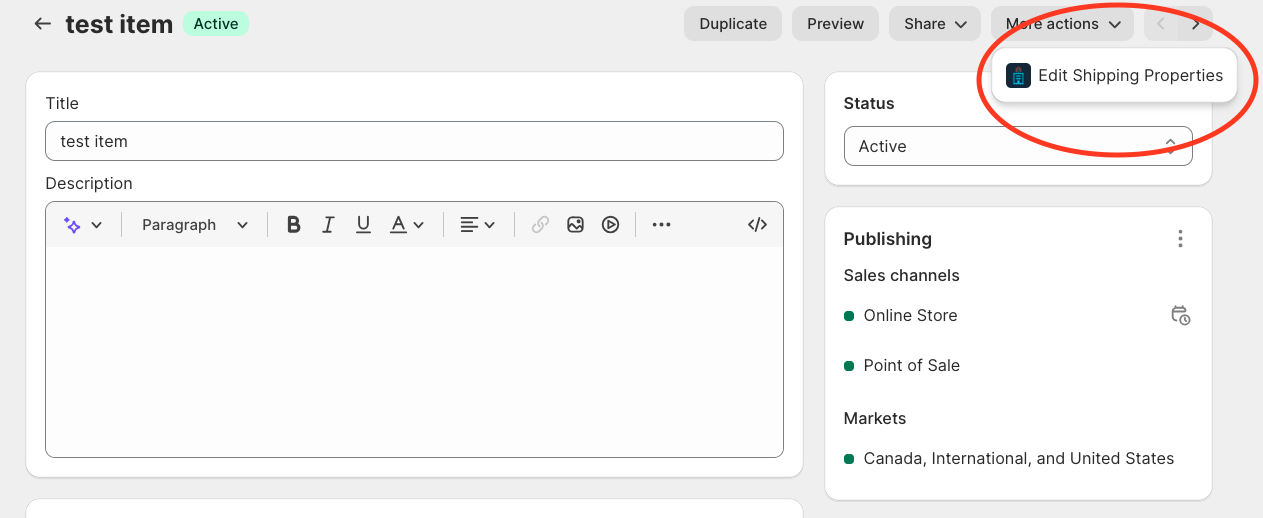
- Copy/paste the exact name of your Shipping Group, Origin, or Packing Rule into the relevant field (Packing Rules are called "Dimensional Groups" in Shopify). For example, enter "SURCHARGE" if that's the Shipping Group name.

- If using Dimensional Shipping, set the length, width, and height of products.
Note: All names are case sensitive. Use a hash (#) symbol to separate multiple Origins or Shipping Groups.
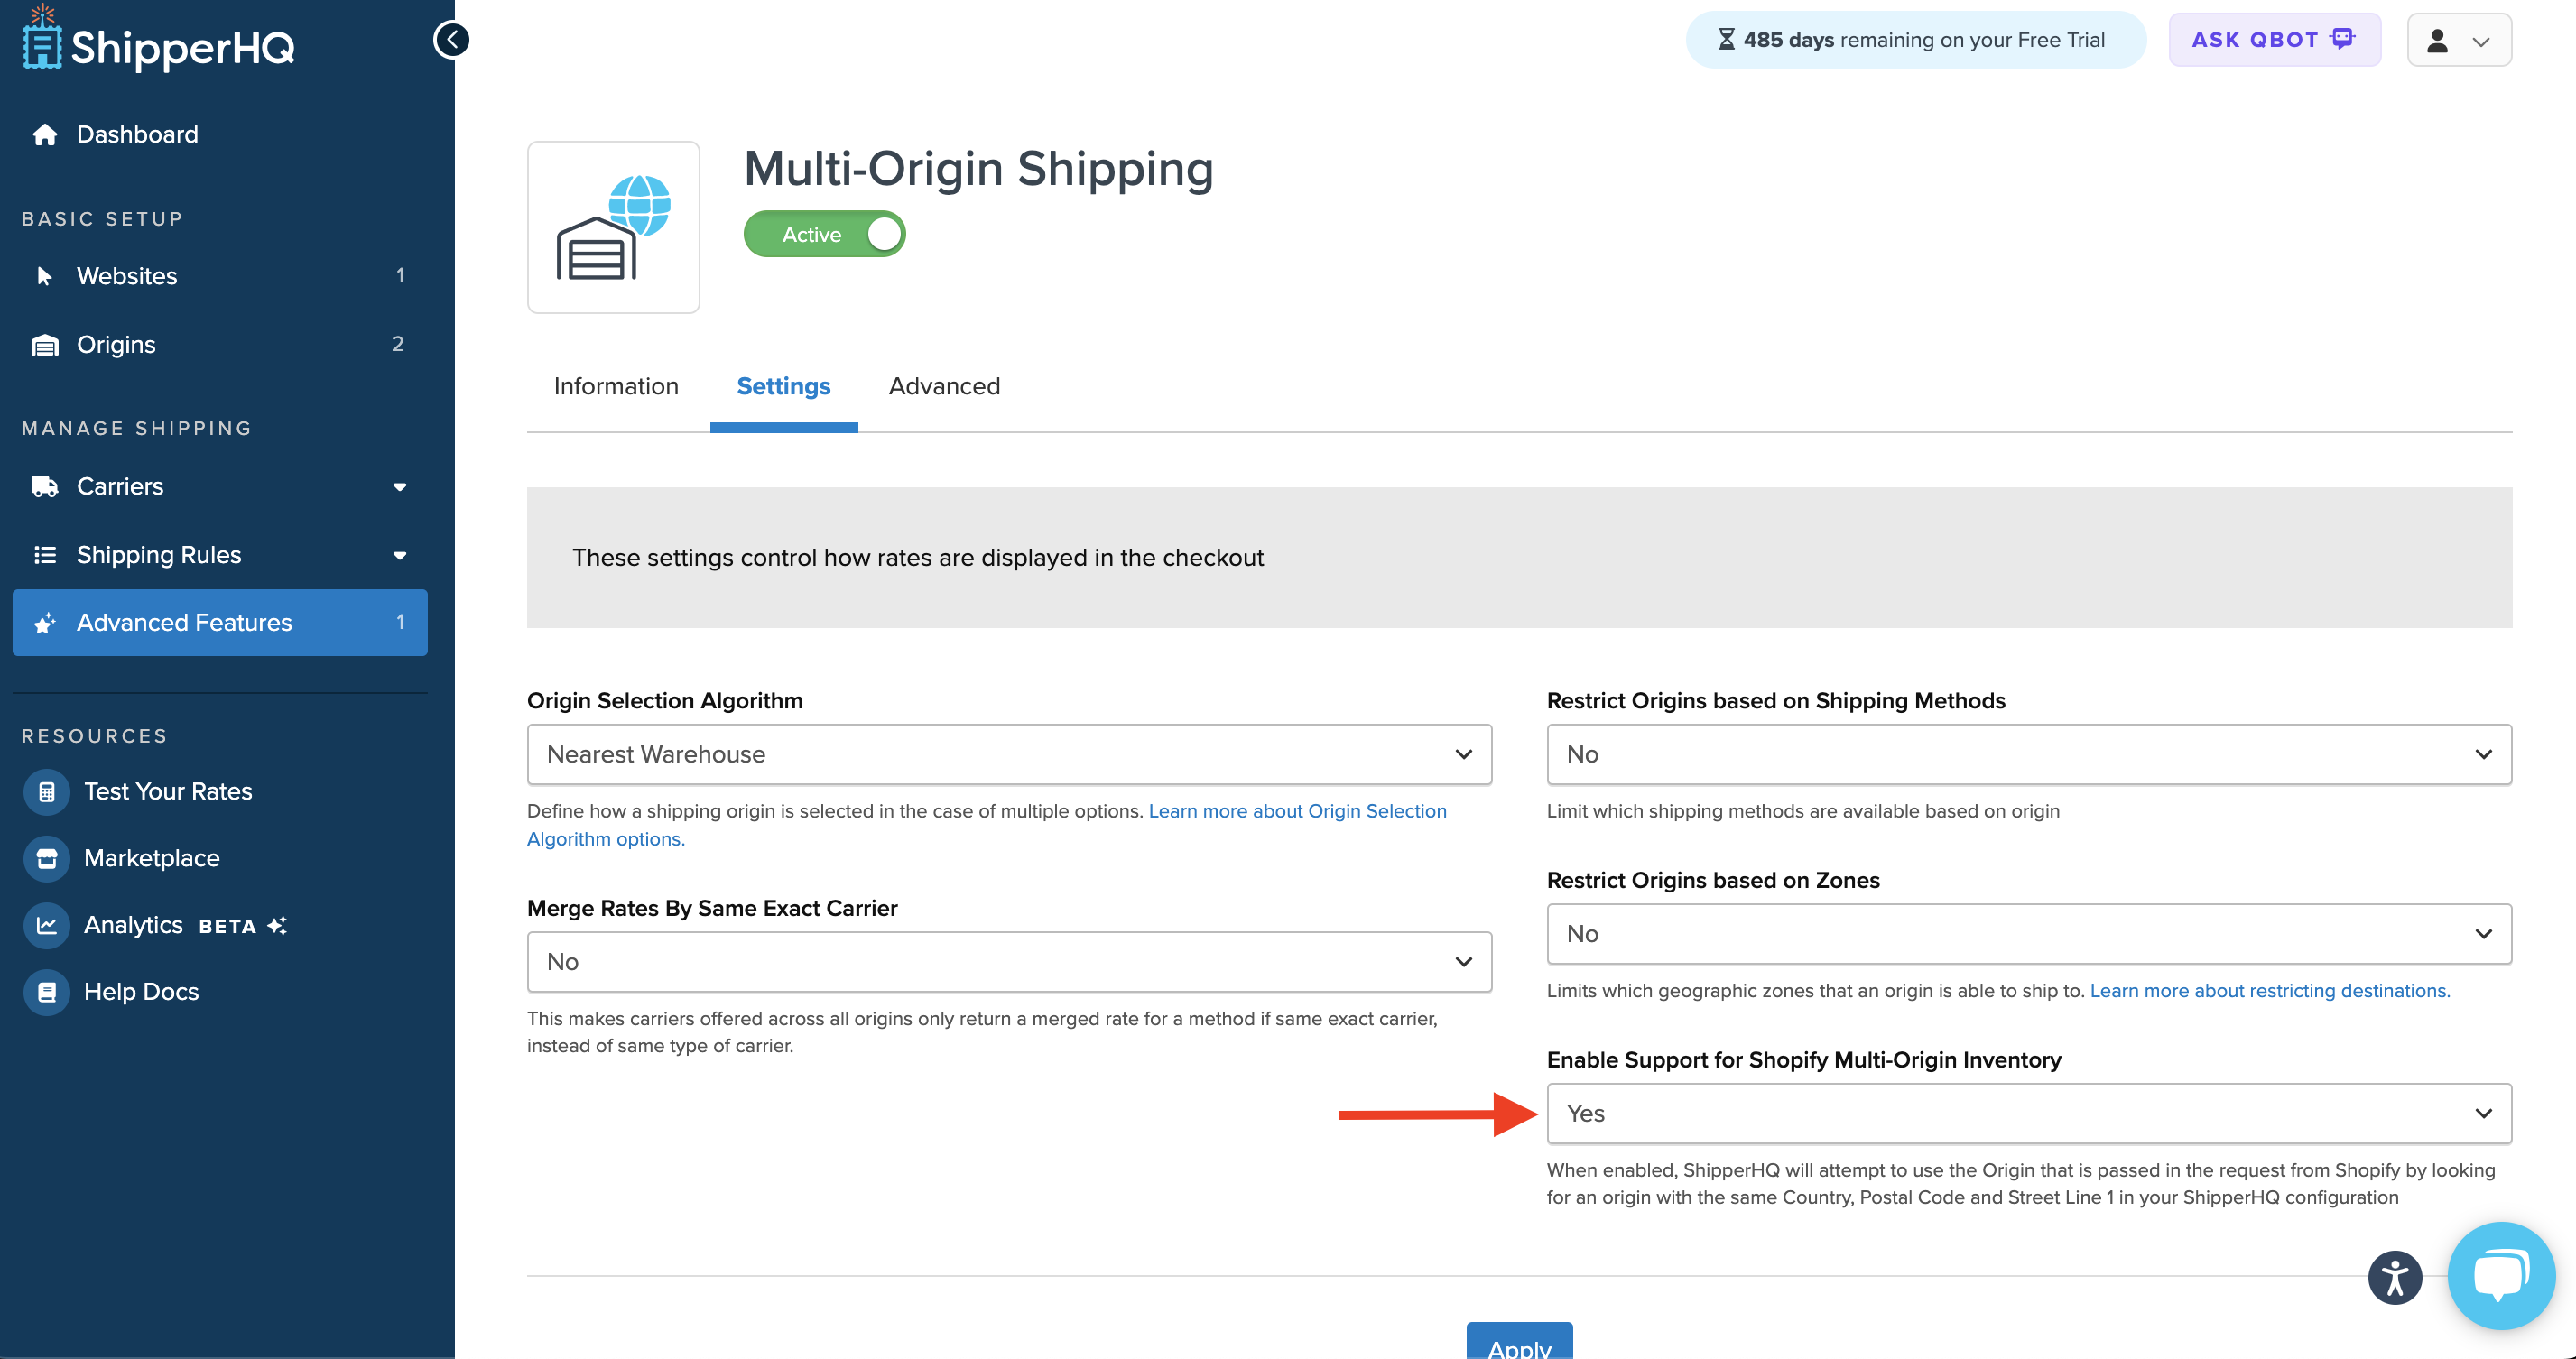
Enabling Support for Shopify Multi-Origin Inventory
Besides using meta field details for Origins, another method allows ShipperHQ to read origins directly within the Multi-Origin Advanced Feature settings. This can save time and improve accuracy when rating from different origins. Enable support under the Multi-Origin Advanced Feature > Settings Tab by switching the drop-down from “No” to “Yes” and clicking “Apply.”
Update Variant Products
To edit metafields for variant products, ensure your ShipperHQ configuration doesn't use the parent attributes. If not changed, "Edit Shipping Properties" will only allow parent product metafield editing. ⚠️ Support for variant product metafields requires a ShipperHQ plan of Standard or above.
Update Products via Bulk Import/Export
Use a third-party app to update product attributes in bulk. ShipperHQ isn't an export/import app. Shopify lacks native bulk update support, so tools like Metafields2 from sineLABS or Ablestar are helpful.
ShipperHQ uses Shopify best practices with Metadata fields and supports these product level attributes:
- Download Metafields2 from the Shopify App store. Contact support@sinelabs.com for help if needed.
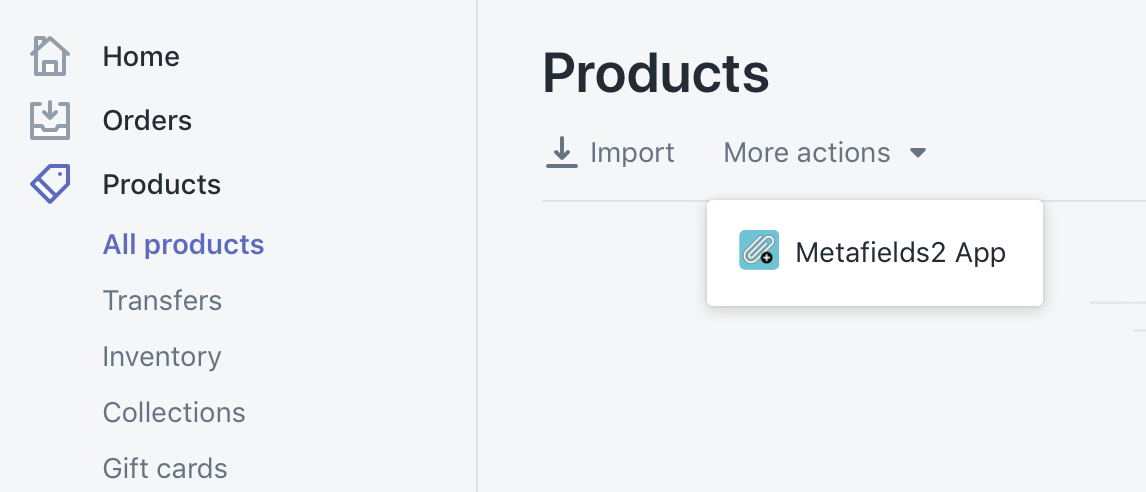
- Go to your Shopify dashboard, click Products, More Actions, then Metafields2 App.
- If ShipperHQ Attributes are already added, export existing metafields via Metafields App → Utilities → Export Metafields.
- Edit exported CSV attributes for quick updates.
- If no attributes exist, create metafields in Metafields2 by choosing 'Products' or 'Variants'.

- Export your products through Metafields App → Utilities → Export Metafields.
- Edit the exported CSV using a spreadsheet editor with 'UTF-8' formatting. Other formats will cause import failure.
- After editing, import the CSV using 'UTF-8' format back into Metafields App → Utilities.
Adding Reusable Attributes to the Bulk Editor
If you choose not to use an external app for Bulk Metafields updates, you can use Shopify’s native Bulk Editor. Here's how to add reusable attributes:
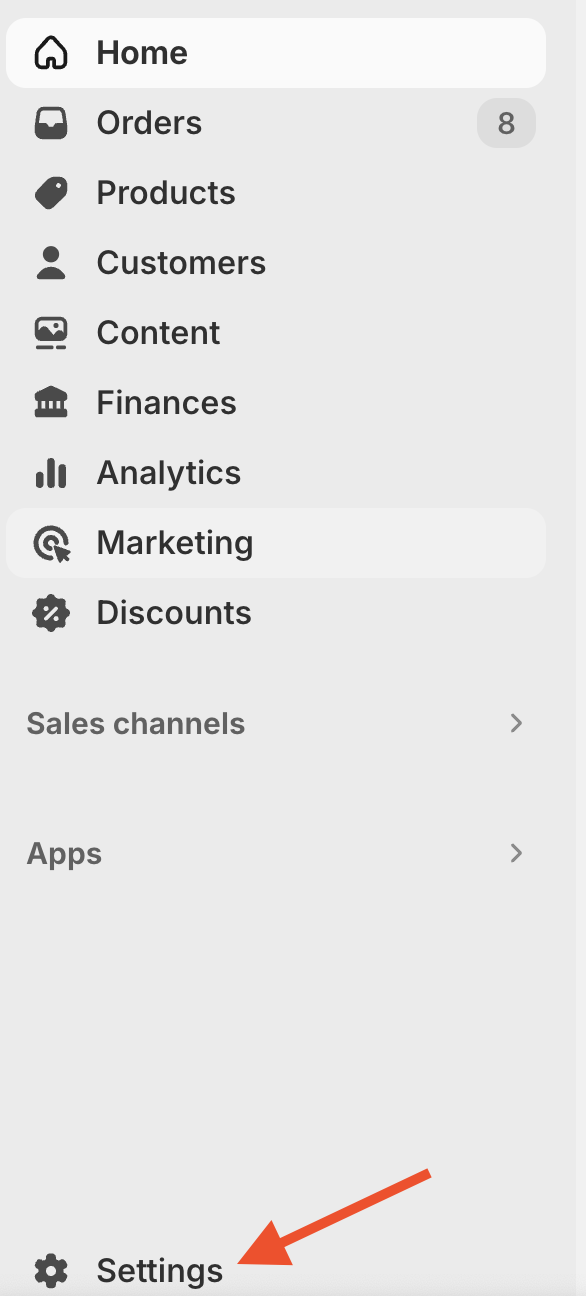
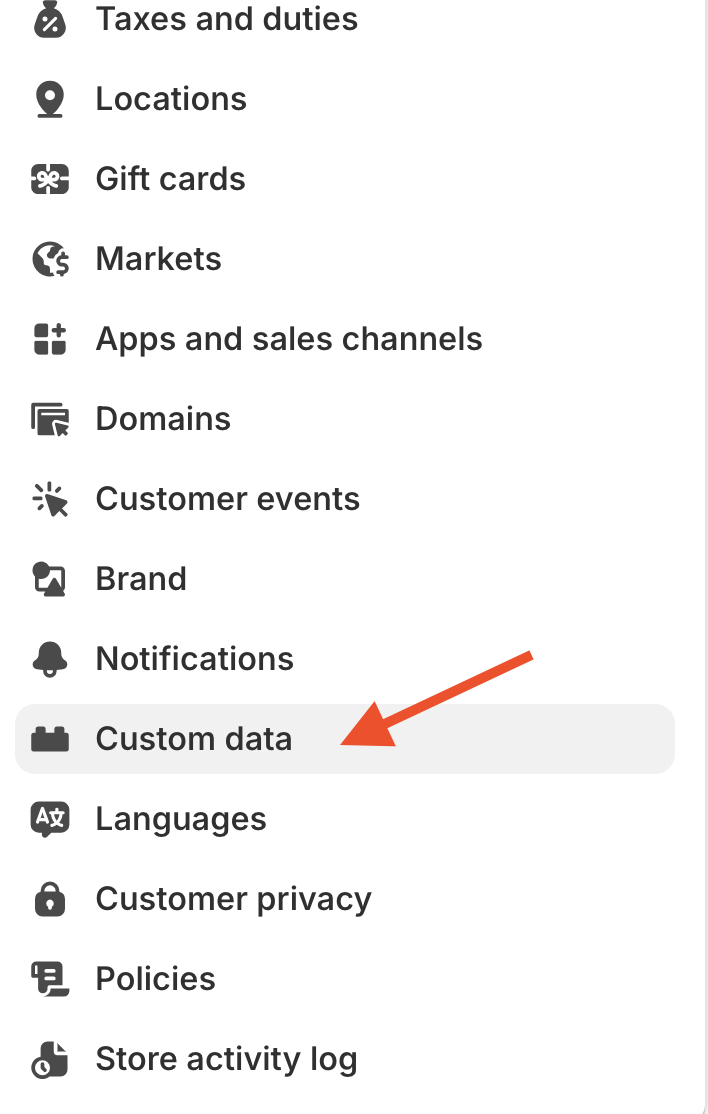
- From your Shopify dashboard, go to Settings.
- Select Custom Data.
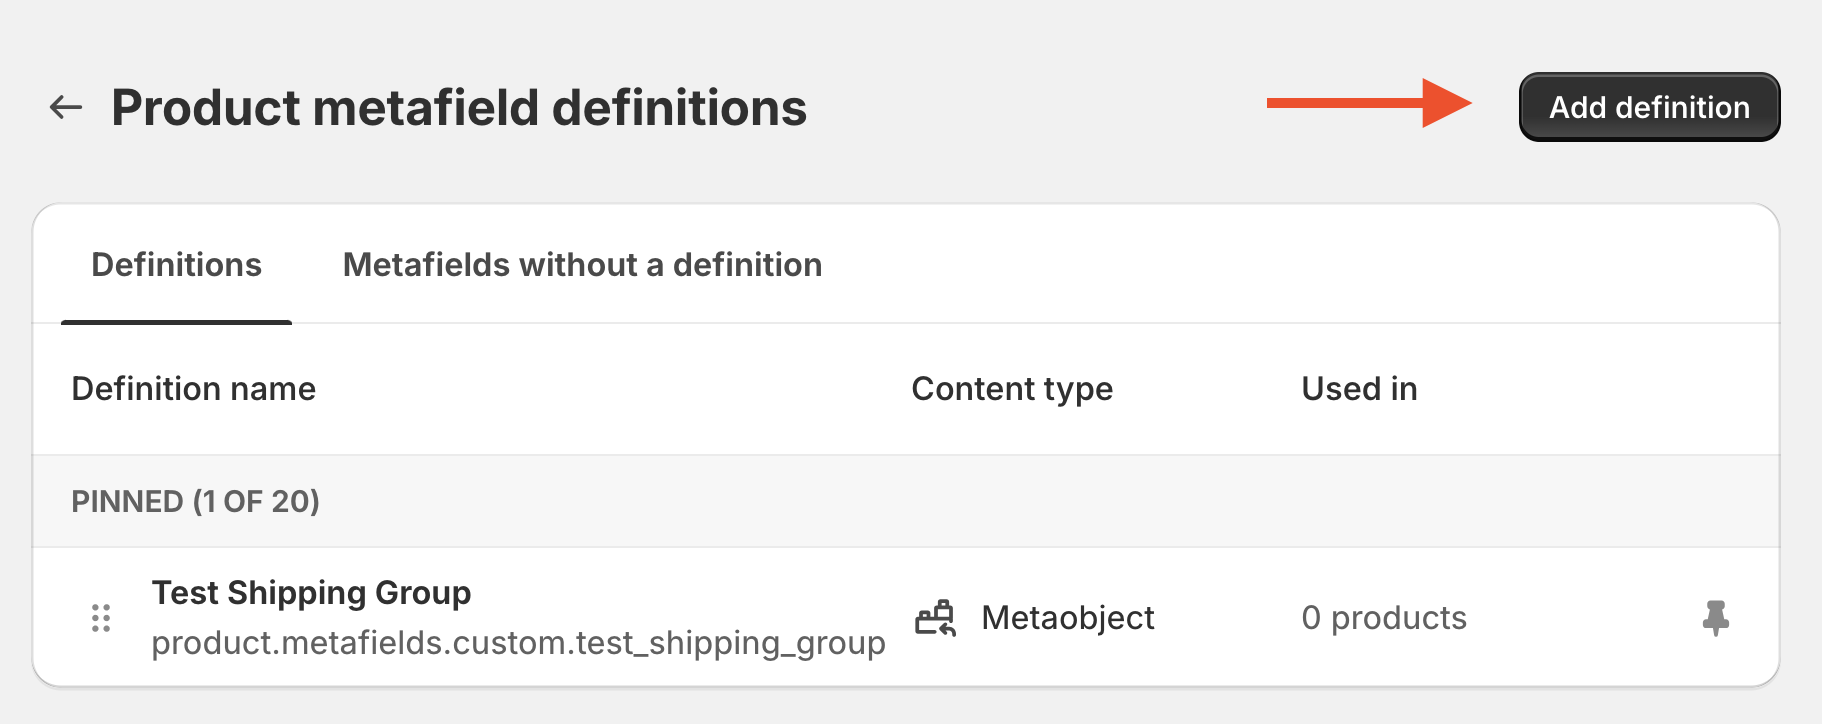
- Under Metafield Descriptions, choose Products, then Add Definition.
- Enter the attribute name and ensure it applies to a List of Products.
- Navigate to your products and select one to update. Initially, the new metafield won’t be visible.
- Click the Columns link in the product editor. Add the new metafield description as a product column.
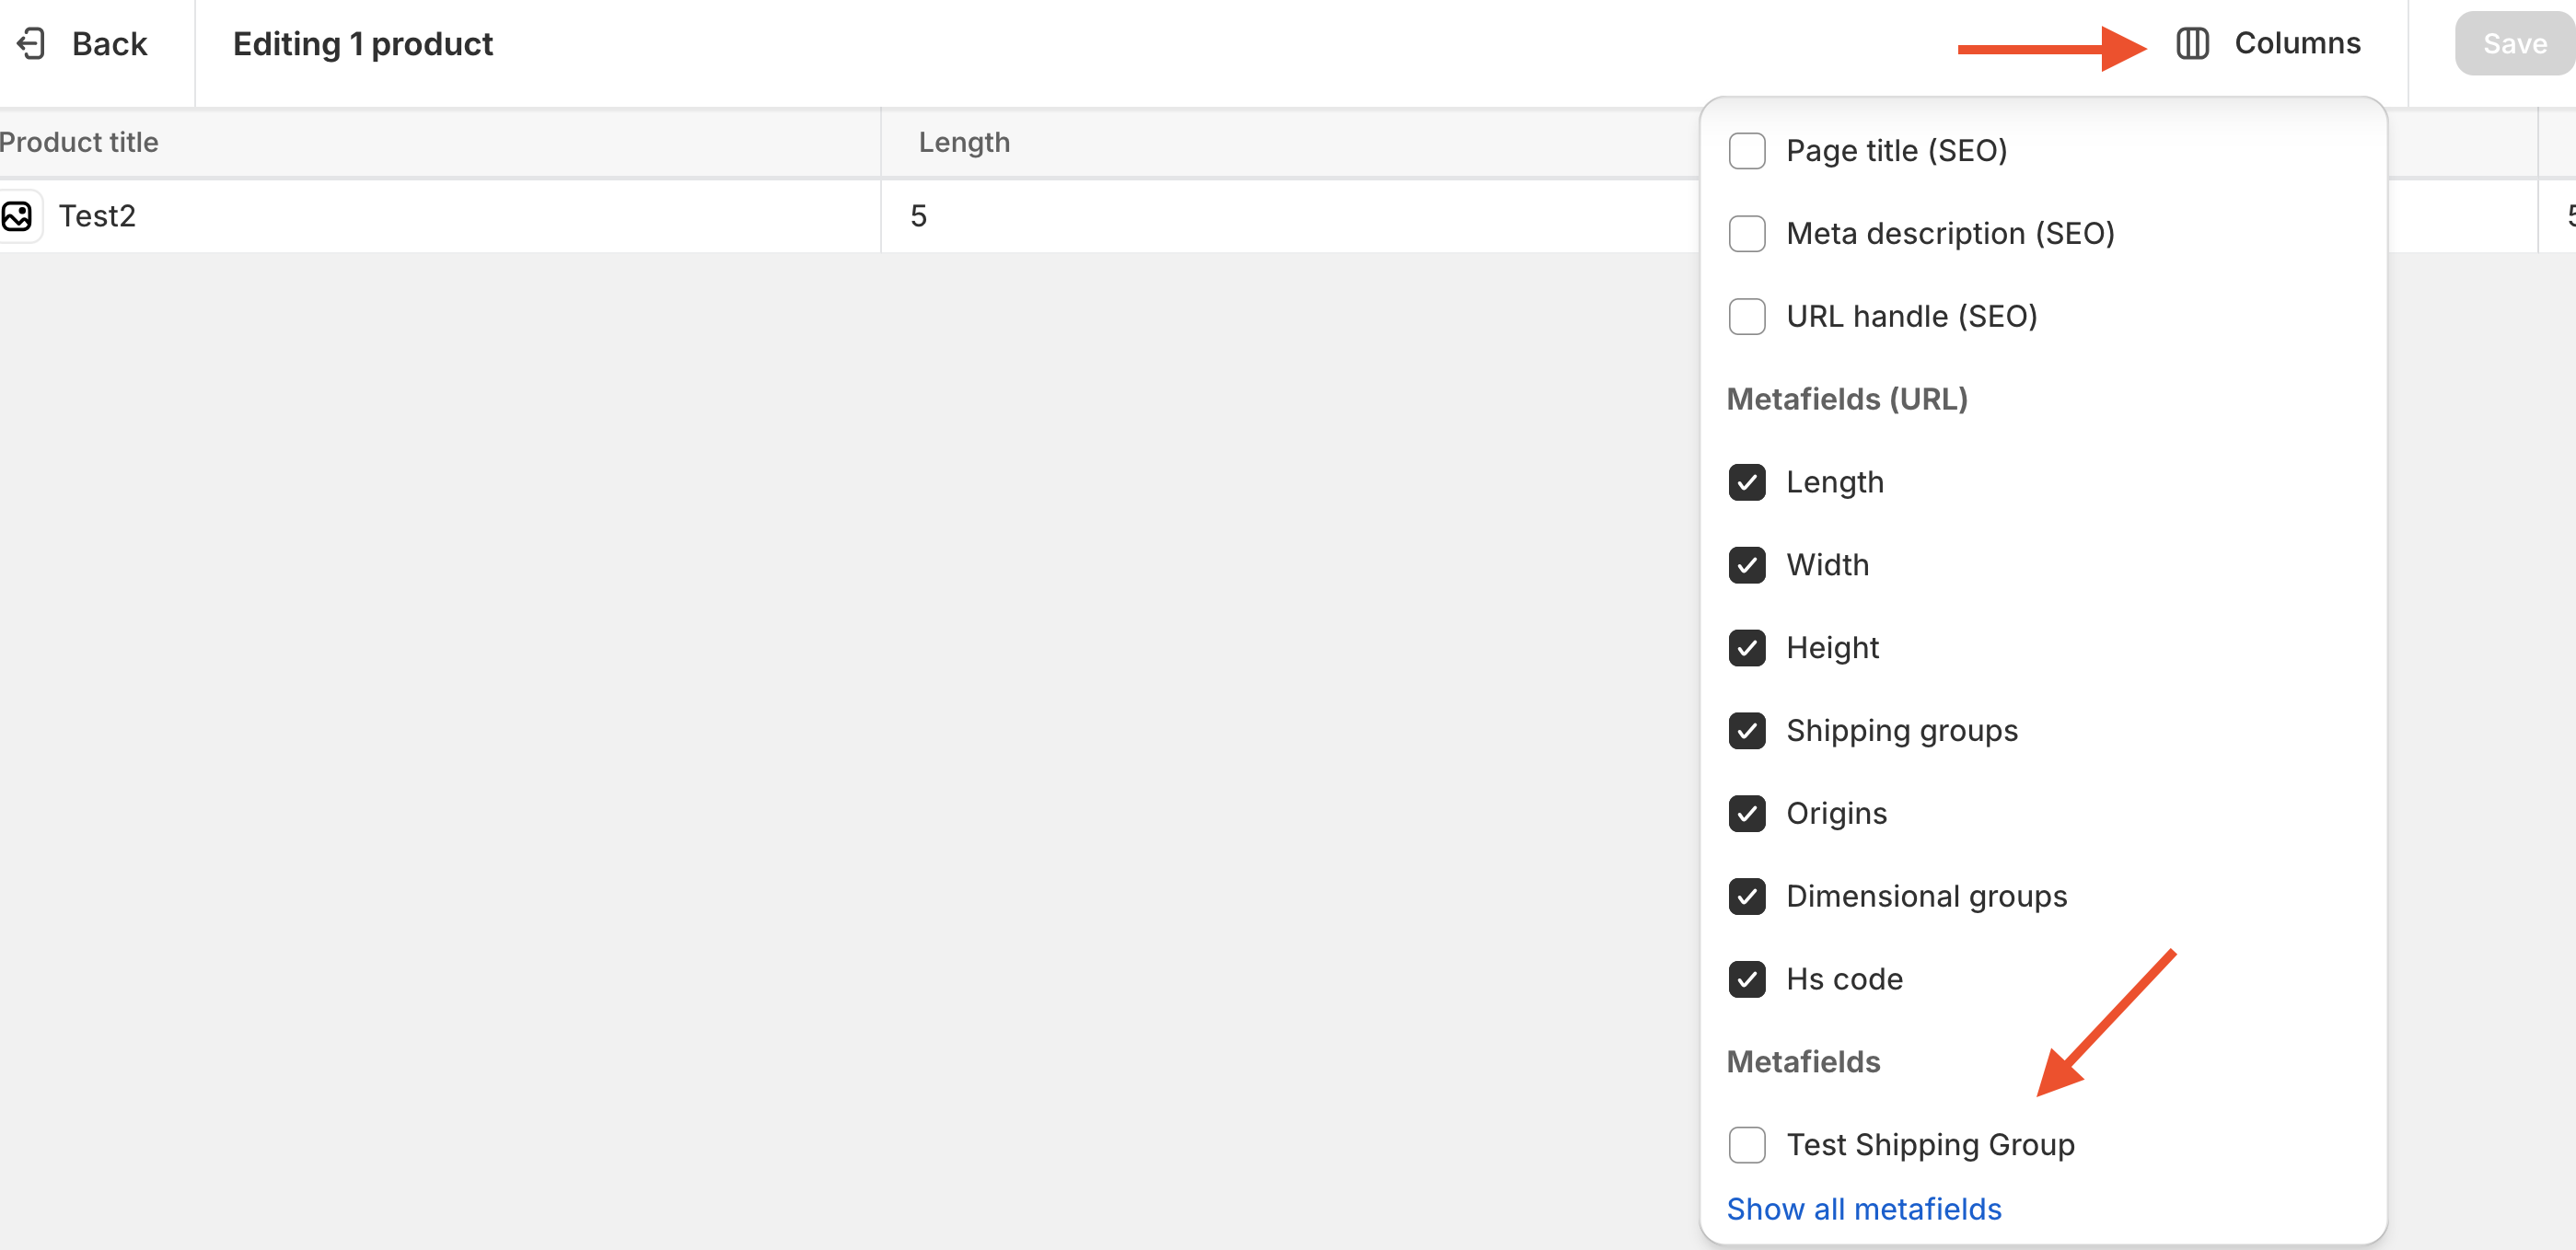
- The new column will appear in the bulk editor. Update applicable products and save.
Types of Metafields ⚠️
Metafield attribute keys below are CASE SENSITIVE and must be uppercase. Lowercase values will not be recognized.
Note on Metafield Types
In 2021, Shopify updated available "types" for metafields, deprecating the "string" type used by ShipperHQ. If using Metafields2, set new metafields to "singlelinetext_field". Both types work with ShipperHQ.
Next Steps
After assigning products to their dimensions, Shipping Group, Packing Rule, or Origin, test them! Add the product to your cart and enter a zip code to check rates. If tests don't work as expected, check our common Troubleshooting steps for help! 😊