
Overview
This document explains how to obtain your Estes Express Lines credentials, which are needed for ShipperHQ to access the live rates associated with your Estes account.
Table of Contents
- Overview
- Requirements
- Register for an Estes Account
- Adding Estes Express
- Steps to Validate This Carrier
- Freight Shipping Configuration
- Optional
Requirements
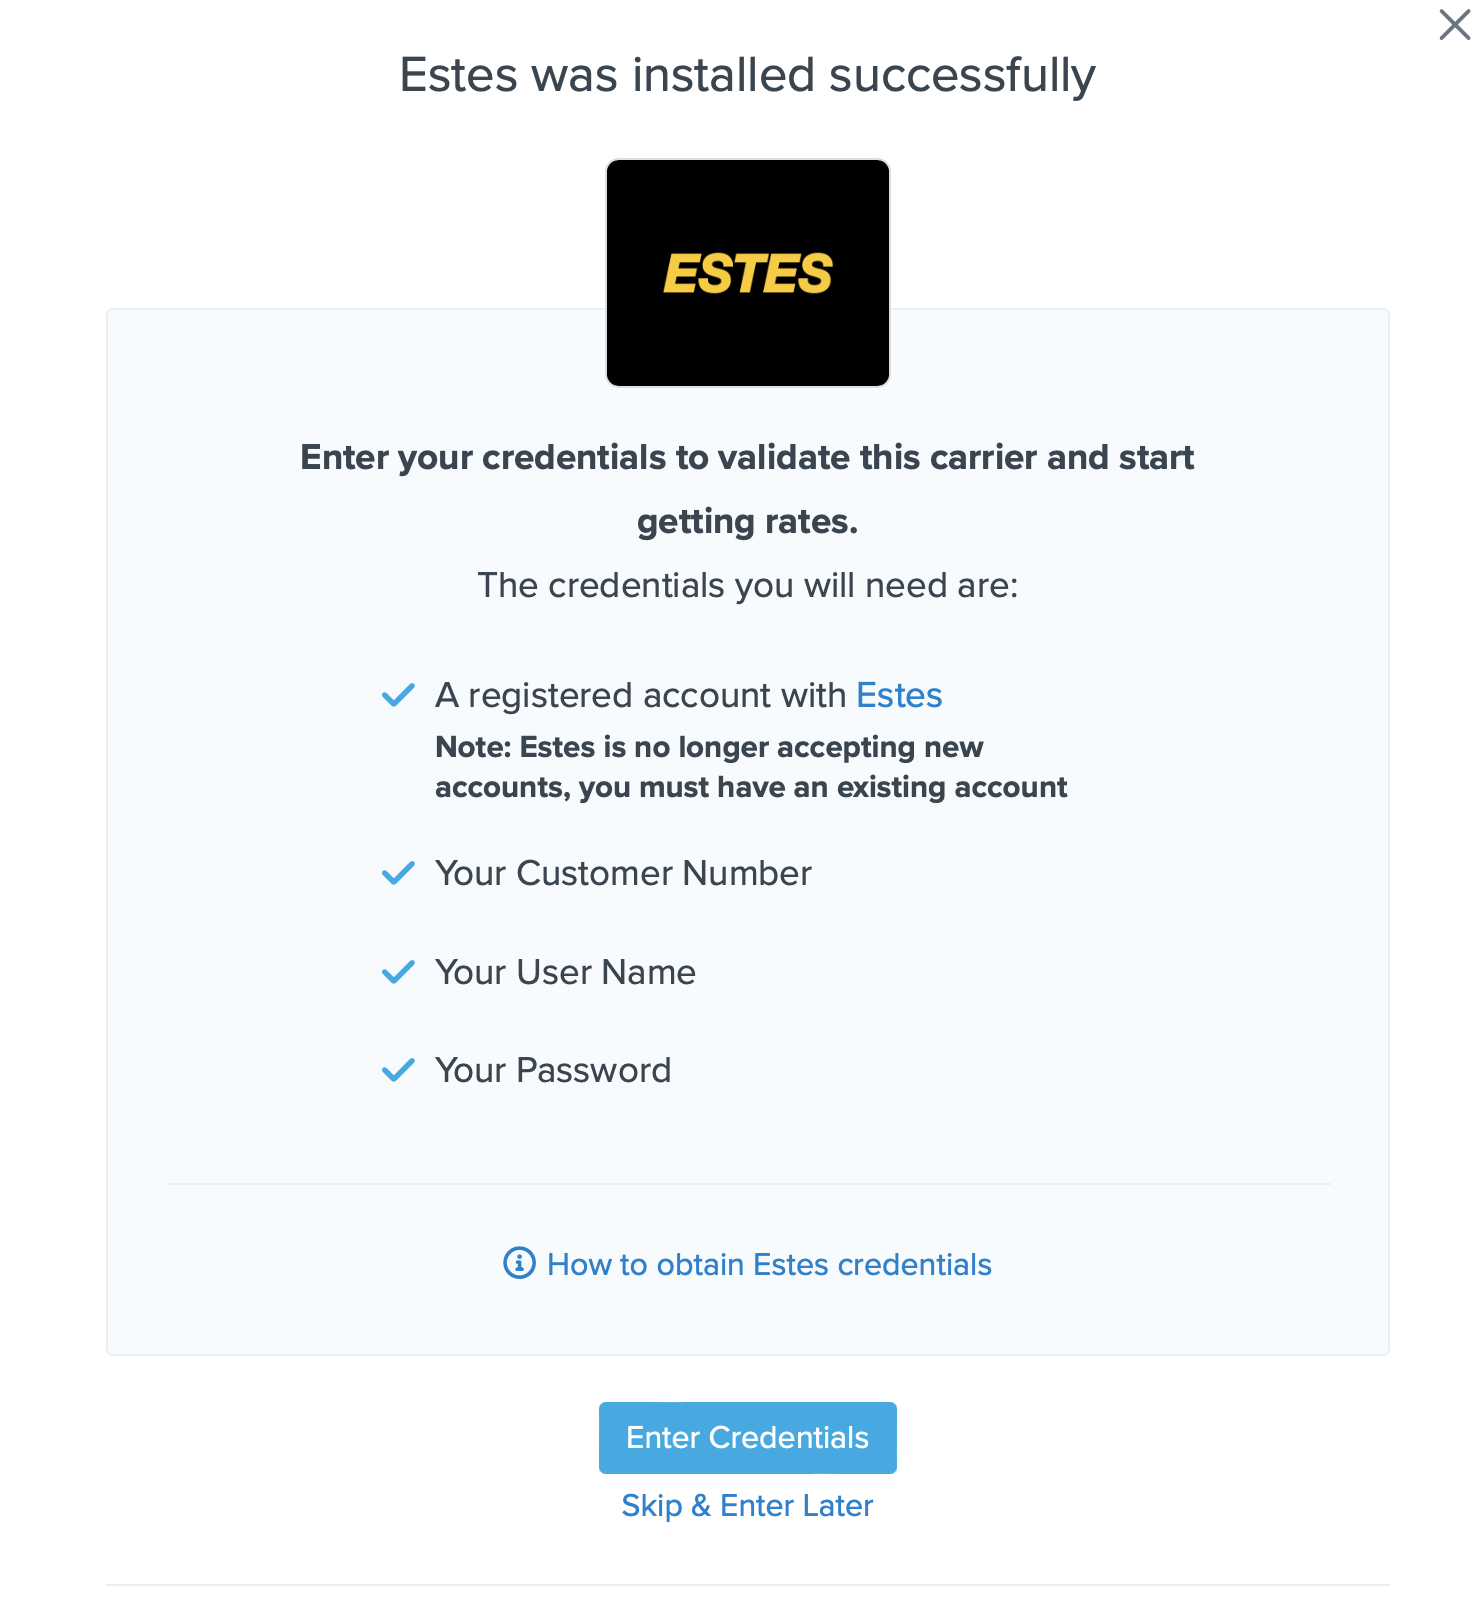
Follow these steps to find the necessary credentials for validating your account and getting rates with ShipperHQ:
- A registered account with Estes
- Your User Name
- Your Password
- Your Customer Number
- Payment Terms
- Business Role
Register for an Estes Account
- Go to the My Estes Signup page
- To complete the form, you'll need an Account Number, which you can request at this link
- Enter the required user information (including the Account number from step 2) and submit the form
- Estes will contact you within 48 hours to confirm your account setup
Adding Estes Express
With your credentials ready, follow these steps to set up Estes Express in ShipperHQ.
- Log into your ShipperHQ account and navigate to the Advanced Features link on the left navigation menu.
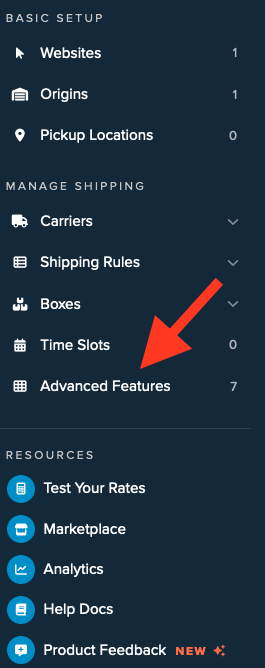
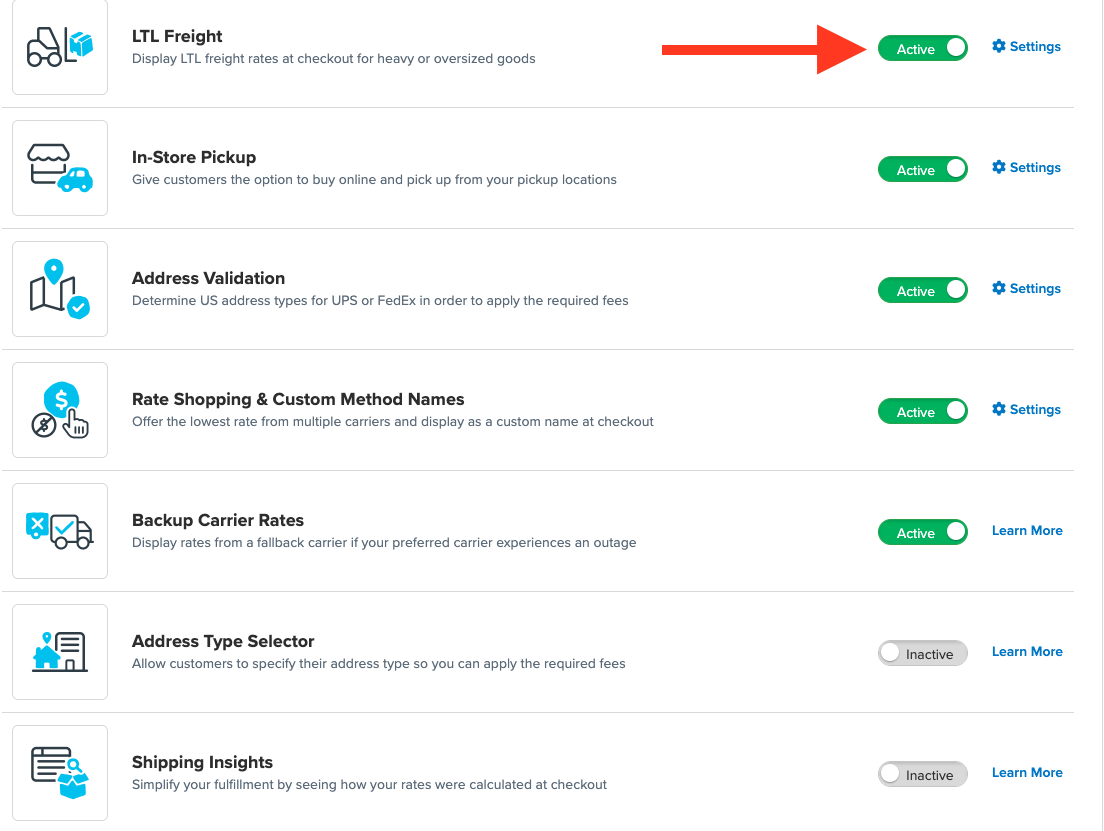
- Click to enable the LTL Advanced Feature.
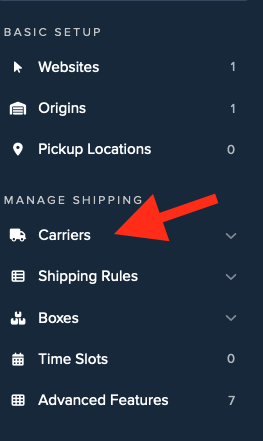
- Once LTL is enabled, go to the Carriers link on the left navigation menu.
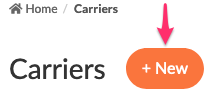
- Click + New to add a new carrier.
- Choose the Live Rate Carrier option.
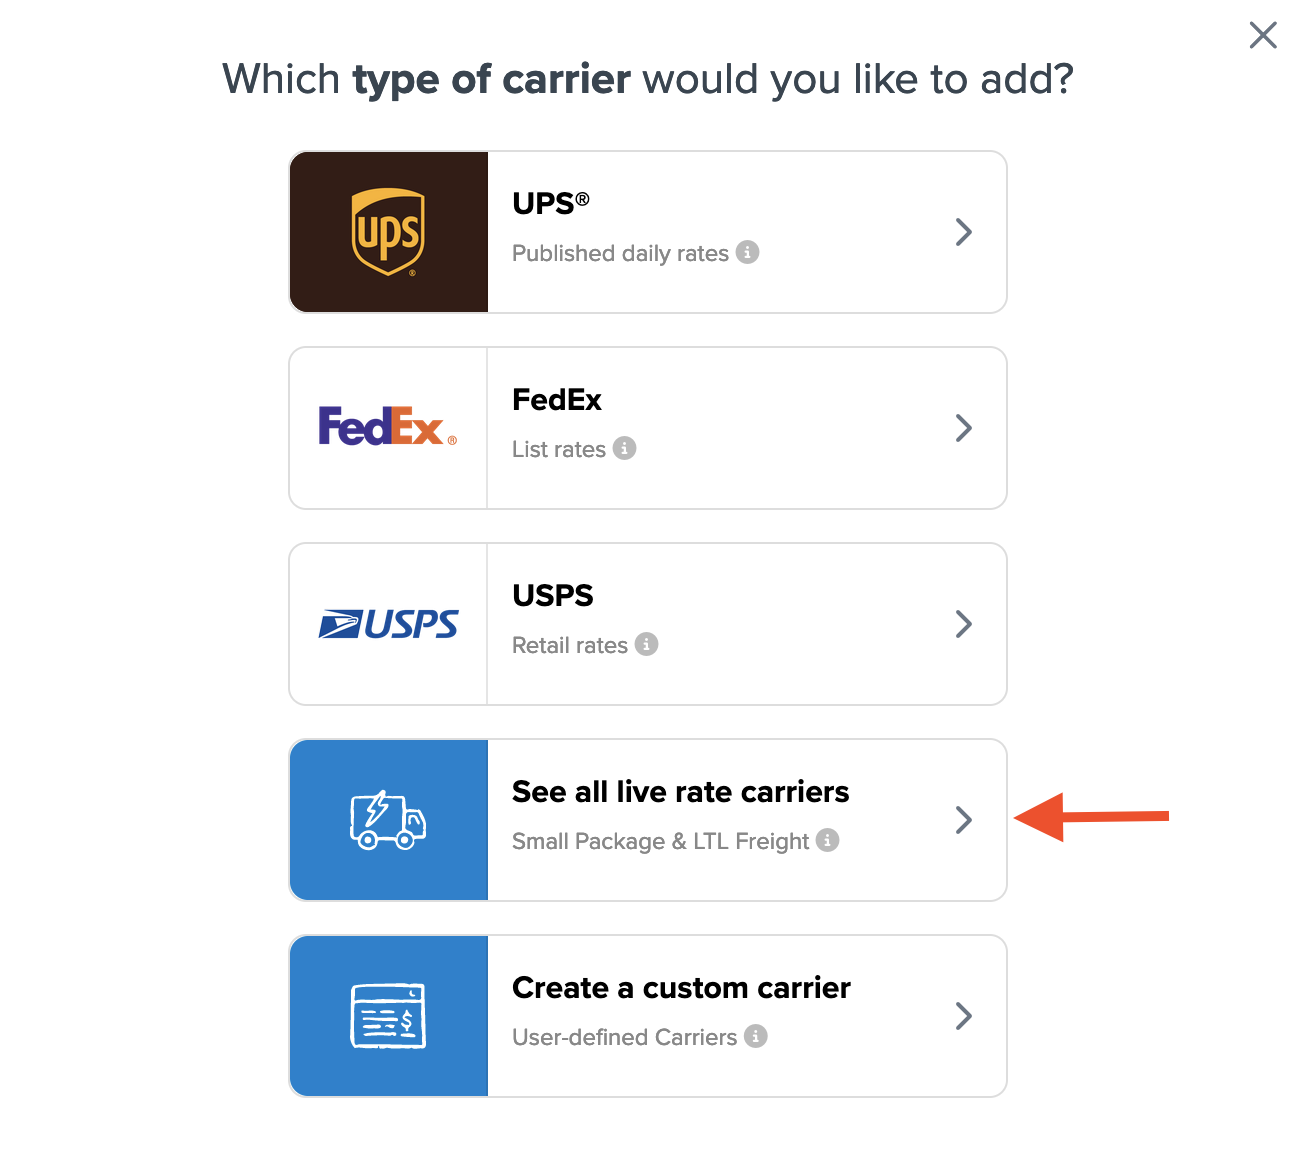
- Use the Search Carriers option to find Estes Express or scroll to locate it in the list.
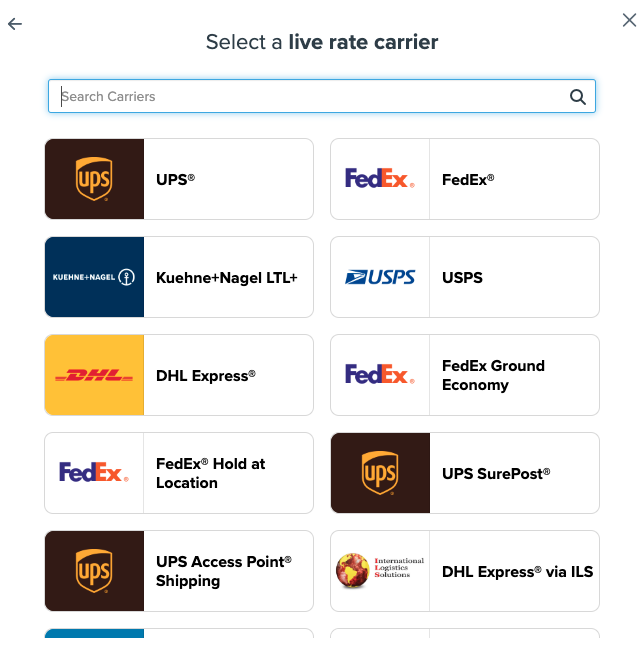
- Click Estes Express.
💡 Adding Estes Express requires the LTL Freight advanced feature. If you haven't enabled this feature, take these steps:
- Click the toggle button to enable the LTL Freight feature
- Click the Continue button
Continue connecting your carrier account to ShipperHQ.
Steps to Validate This Carrier
- Enter these credentials provided by Estes Express:
- Your Estes Express User Name
- Your Estes Express Password
- Your Estes Express Customer Number
- Payment Terms
- Business Role for your account (Shipper, Consignee, or Third-party)
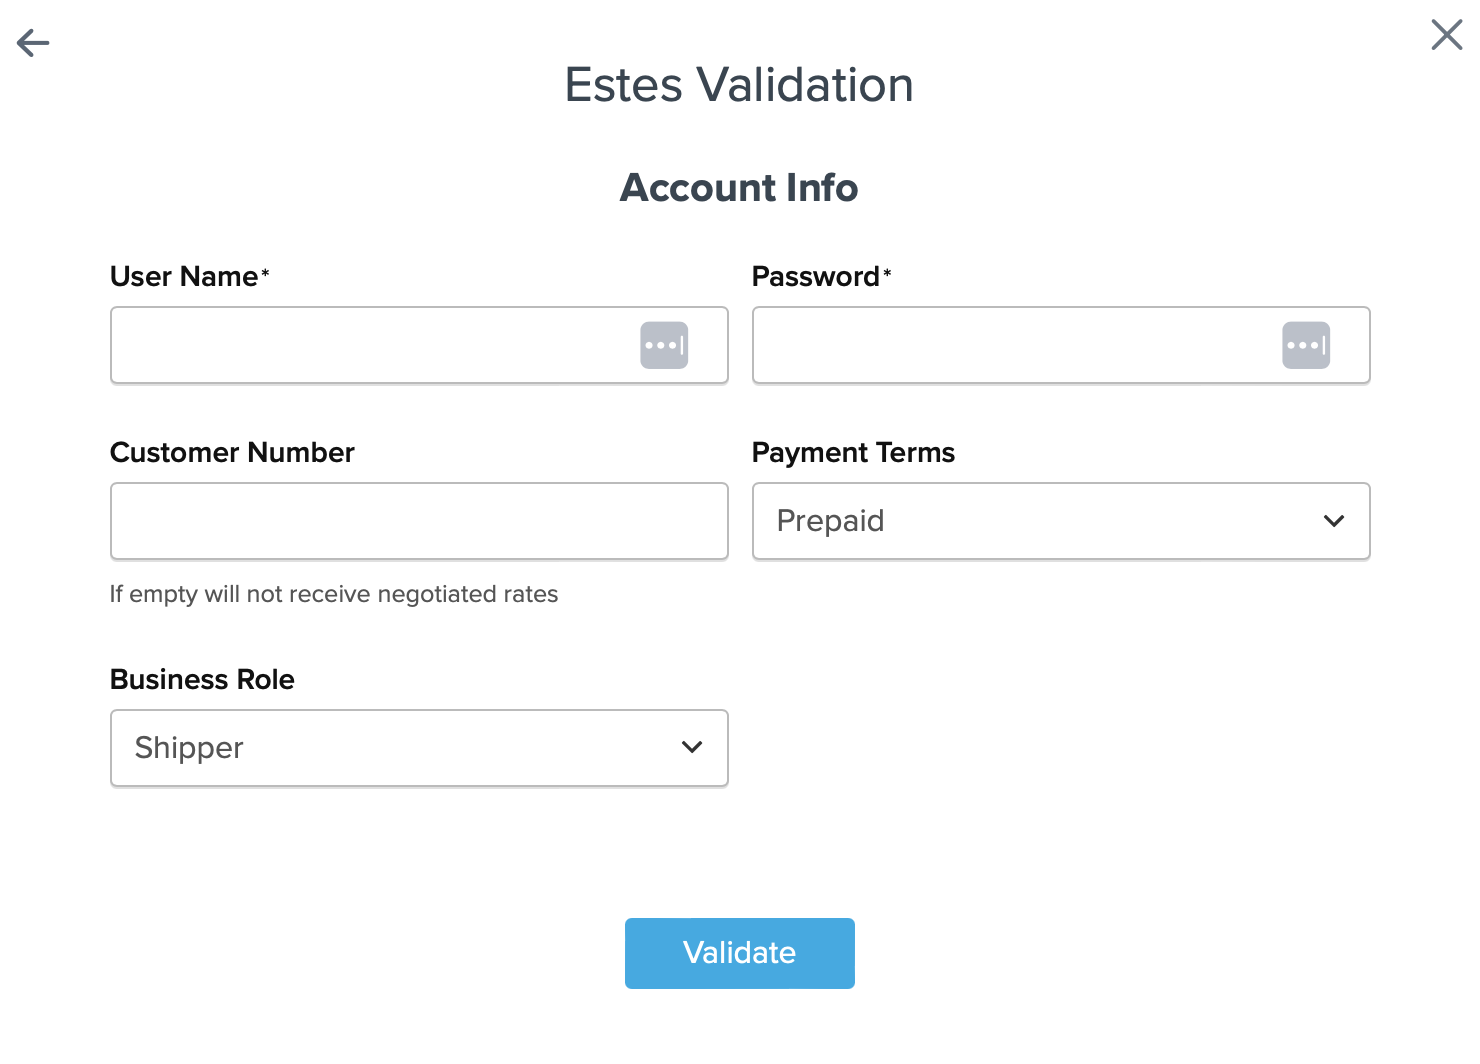
- Once these details are entered, click the Validate button to complete the validation process.
✅ If validation is successful, click the toggle button to enable the Estes Express carrier.
💡 If validation fails, please Contact ShipperHQ Support for assistance, or review your credentials for accuracy and try again.
- Click the Configure This Carrier button if validation was successful.
- Edit any carrier settings as needed, then click Save to complete the setup.
- Your Estes Express Freight carrier is now enabled and ready for configuration.
Freight Shipping Configuration
Explore these links to configure your Estes Express Freight carrier:
- Setting Weight Thresholds for Oversized Carts
- How to Set Items that Must Ship Freight
- Setting Up Shipping Groups
Optional
For more configuration options, consider the following: