
Table of Contents
- Overview
- Benefits
- Requirements
- How to Set Up UPS My Choice
- Step 1: Set Up Your UPS Carrier
- Step 2: Enable UPS My Choice
- Step 3: Install UPS My Choice Extension
- Step 4: Update Magento Store
- UPS My Choice from the Customer's Perspective
Overview
UPS My Choice is now available in ShipperHQ’s marketplace for Adobe Commerce (Magento 2) stores. 🎉 With UPS My Choice installed, ShipperHQ merchants can offer customers the option to sign up for real-time delivery updates after placing their order, helping to boost customer satisfaction.
Other UPS Services: In addition to UPS My Choice, ShipperHQ supports a wide range of UPS services, including domestic and international small packages. Learn more about ShipperHQ support for UPS services.
Benefits
The integration of UPS My Choice with ShipperHQ offers several advantages:
- Real-time updates: Customers can view and track deliveries to any US residential address in real-time. Proactive alerts reduce the need for customers to contact merchants for shipment details.
- Enhanced shipping experience: Customers can reschedule deliveries, reducing delivery attempts, returns, and restocks.
- Reduced customer tickets: Your service team can focus on more critical issues, as customers can reschedule or reroute shipments themselves.
- Easy signup: Customers can sign up for UPS My Choice with a simple click.
Requirements
Before getting started, please ensure you have the following:
- A UPS account
- Adobe Commerce (Magento 2)
- Either ShipperHQ's standard extension or the Enhanced Checkout extension
- Writable
vendor/directory in your Magento Root
💡
How to Set Up UPS My Choice
Follow these steps to set up and configure UPS My Choice.
Step 1: Set Up Your UPS Carrier
Please refer to our How to Set Up a UPS Carrier guide if you haven't done this yet.
Step 2: Enable UPS My Choice
To install UPS My Choice:
- Navigate to the Marketplace dashboard.
- Click the Install button on the UPS My Choice tile.
- Click Continue.
💡
- UPS My Choice is now installed on your ShipperHQ profile. A Magento extension installation and update is required before customers can sign up.
Step 3: Install UPS My Choice Extension
To install the UPS My Choice extension:
💡
- Enable Maintenance mode (
php bin/magento maintenance:enable) - Run these commands from your Magento root directory:
composer require shipperhq/module-upsmychoicephp bin/magento module:enable --clear-static-content ShipperHQ_UPSMyChoicephp bin/magento cache:flushphp bin/magento setup:upgradephp bin/magento setup:di:compilephp bin/magento setup:static-content:deploy
- Disable Maintenance mode (
php bin/magento maintenance:disable)
These steps are optional if your site is in developer mode.
Step 4: Update Magento Store
To update your Magento store for UPS My Choice:
- Log into your Magento account.
- Navigate to Stores > Synchronize with ShipperHQ.
- Click the Reload Synchronize Data button.
- Customers can now sign up and enjoy UPS My Choice benefits post-order.
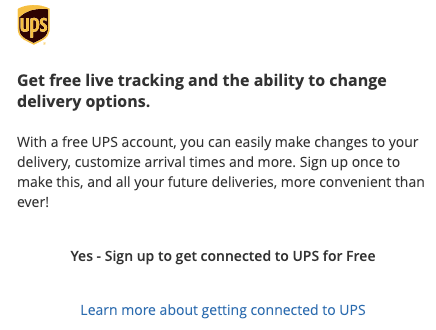
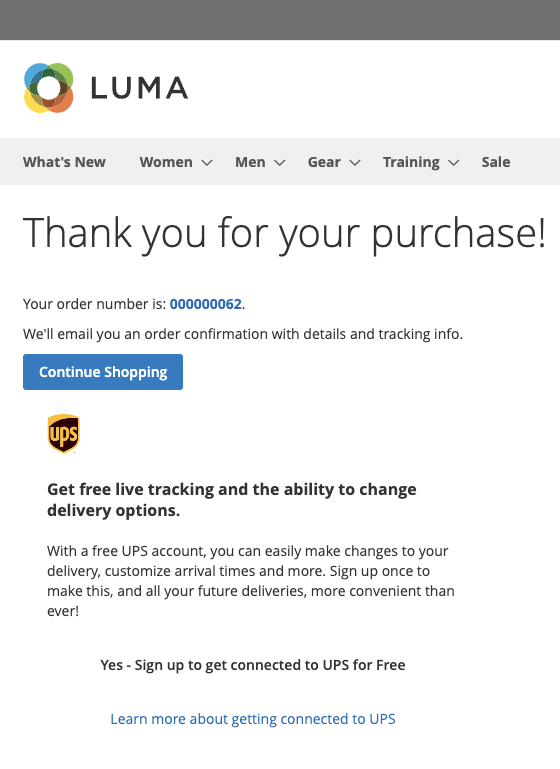
UPS My Choice from the Customer's Perspective
Here's what customers will see after ordering for delivery to a US residential address. 😊
💡
Customers receive a confirmation email once signed up for UPS My Choice, enhancing their delivery experience.