Table of Contents
- Overview
- Requirements
- Steps to Install the WooCommerce Plugin in WordPress
- Steps to Obtain Your API Key and Authenticate Code from ShipperHQ
- Steps to Connecting ShipperHQ to WooCommerce Plugin
- Updating the Plugin
Overview
😊 ShipperHQ supports rating on WooCommerce via our plugin. This guide will walk you through the steps needed after successfully installing WooCommerce.
Requirements
Before you begin, please ensure you have the following:
- Access to your WordPress admin website
Steps to Install the WooCommerce Plugin in WordPress
- Go to ShipperHQ's WooCommerce Github library.
- Click the Zips folder and download the latest zip in the directory.
- Extract the contents into wp-content/plugins/.
- Log in to your WordPress admin website.
- Go to your Plugins dashboard and click the Upload Plugin button.
- Click the Choose File button and select the downloaded wp-content/plugins/ file.
- Click the Install Now button.
- Navigate to Plugins > Install Plugins in your WordPress Admin website.
- Click the Activate link for the ShipperHQ plugin.
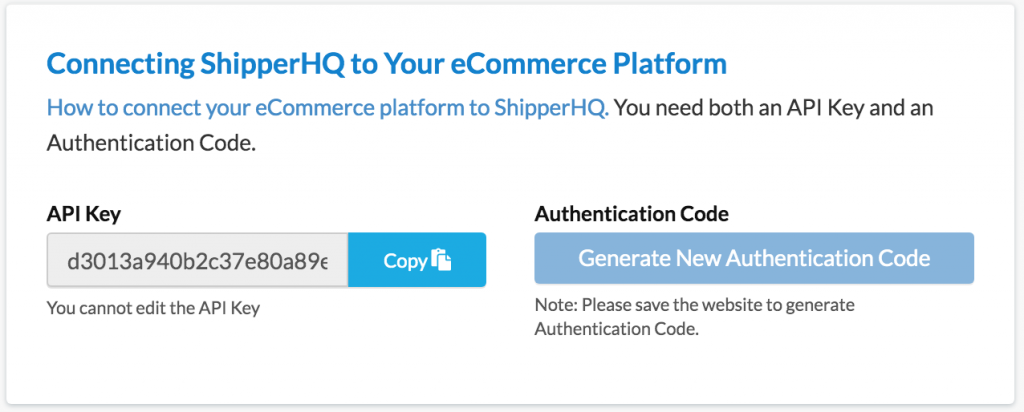
Steps to Obtain Your API Key and Authenticate Code from ShipperHQ
- Log into your ShipperHQ account.
- Navigate to the Basic Setup > Websites dashboard.
- Click the desired website.
- Click the Integrations tab.
- View the generated access token placed in the field provided.
Steps to Connecting ShipperHQ to WooCommerce Plugin
- After obtaining your API Key and Auth Key, log in to your WordPress admin account.
- Navigate to Settings > Shipping > ShipperHQ.
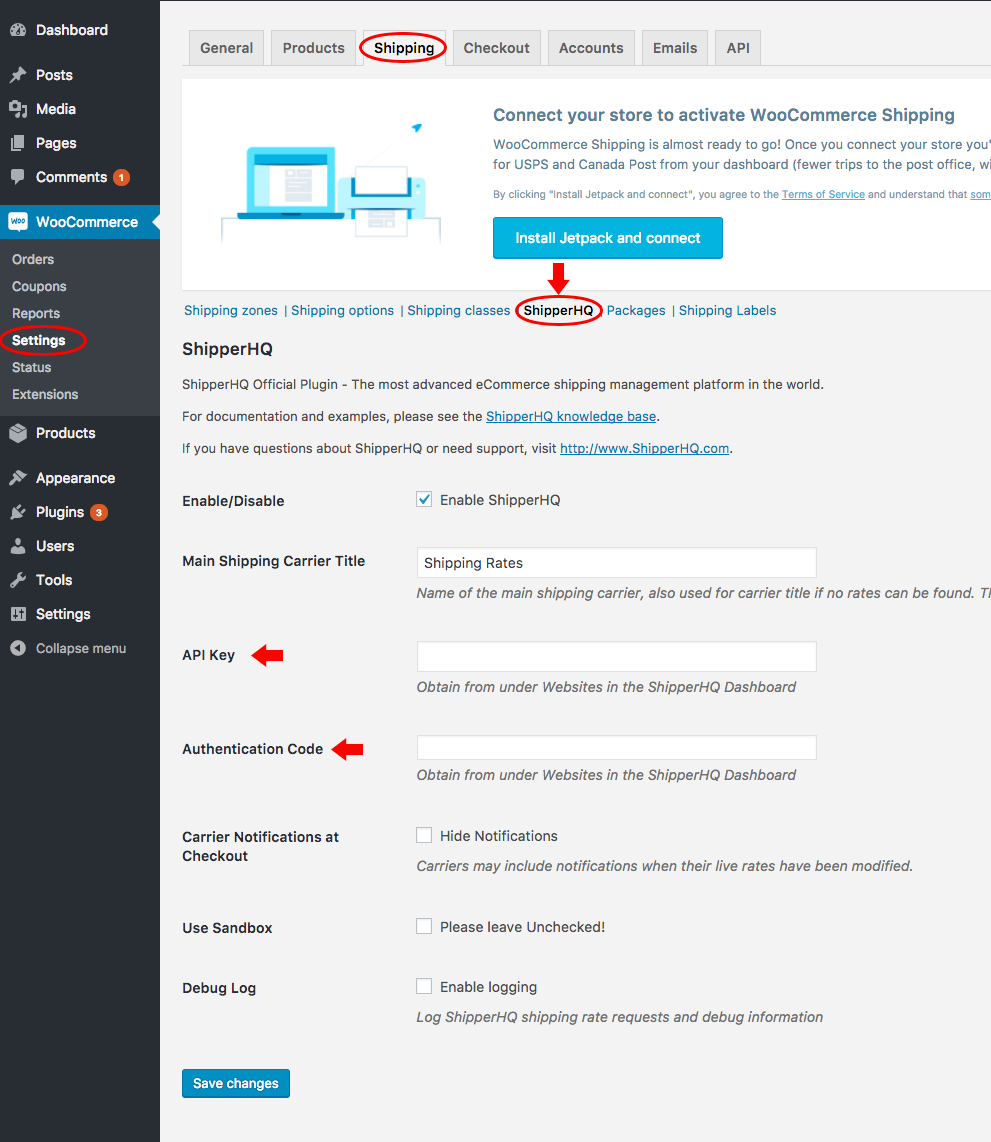
- Enter the API key and authentication code from your ShipperHQ dashboard into the fields provided.
- Click the Save changes button.

You can now see shipping rates from ShipperHQ on your WooCommerce store frontend. Important Note: Ensure that "Use Sandbox" is NOT checked, as it will cause issues and rates will not return if it's checked.
Updating the Plugin
- Follow steps 1 - 3 from the Steps to Install the WooCommerce Plugin to WordPress.
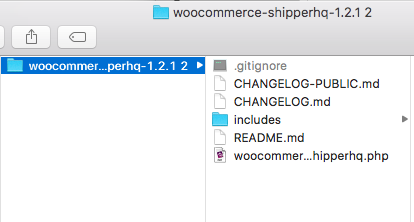
- Unzip the ShipperHQ extension and inspect the folder's contents.

- Open a separate window to access your WordPress installation.
- Navigate to wordpressInstallation > wp-content > plugins > woocommerce-shipperhq.
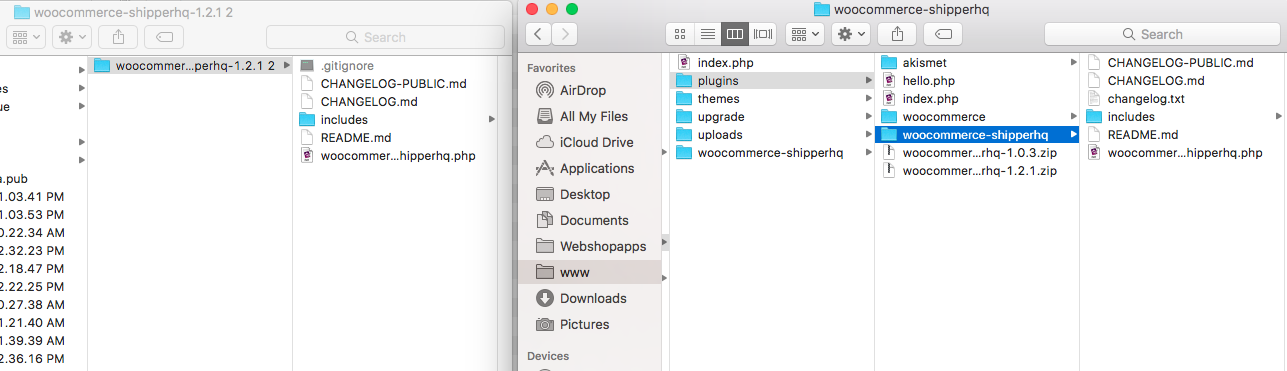
- Drag the contents of the updated extension over to your existing wp-content > plugins > woocommerce-shipperhq folder to overwrite the existing files.
- Log in to your WordPress admin panel.
- Navigate to Settings > Shipping > ShipperHQ to ensure your API key is entered correctly and test that your ShipperHQ extension is still accessible.