Table of Contents
- Overview
- Requirements
- Register for Sendle API credentials
- Adding Sendle
- Steps to Validate This Carrier
- Troubleshooting
Overview
This document outlines the process for setting up Sendle in ShipperHQ. It helps you obtain live rates associated with your Sendle account.
Requirements
Before you begin, ensure you have the following:
- Your Sendle ID
- Your API Key
😊 ShipperHQ merchants can use Sendle for delivery rating in the United States for domestic delivery, and from Australian origins for both domestic and international delivery.
Register for Sendle API credentials
- Log in to your Sendle account or create a new account.
- Navigate to the Settings tab.
- Go to the Integrations tab to get your Sendle ID and API Key.
- Copy and store your ID and API Key in a safe place.
Adding Sendle
Now that you have your credentials, use these steps to set up Sendle in ShipperHQ.
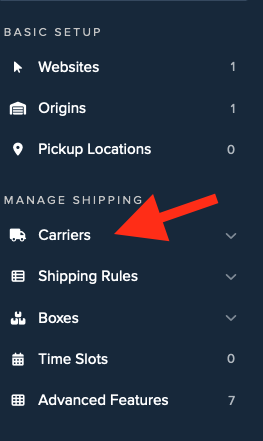
- Log into your ShipperHQ account and navigate to the Carriers link on the left navigation menu.
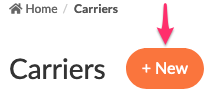
- Click + New to add a new carrier.
- Choose the Live Rate Carrier option.
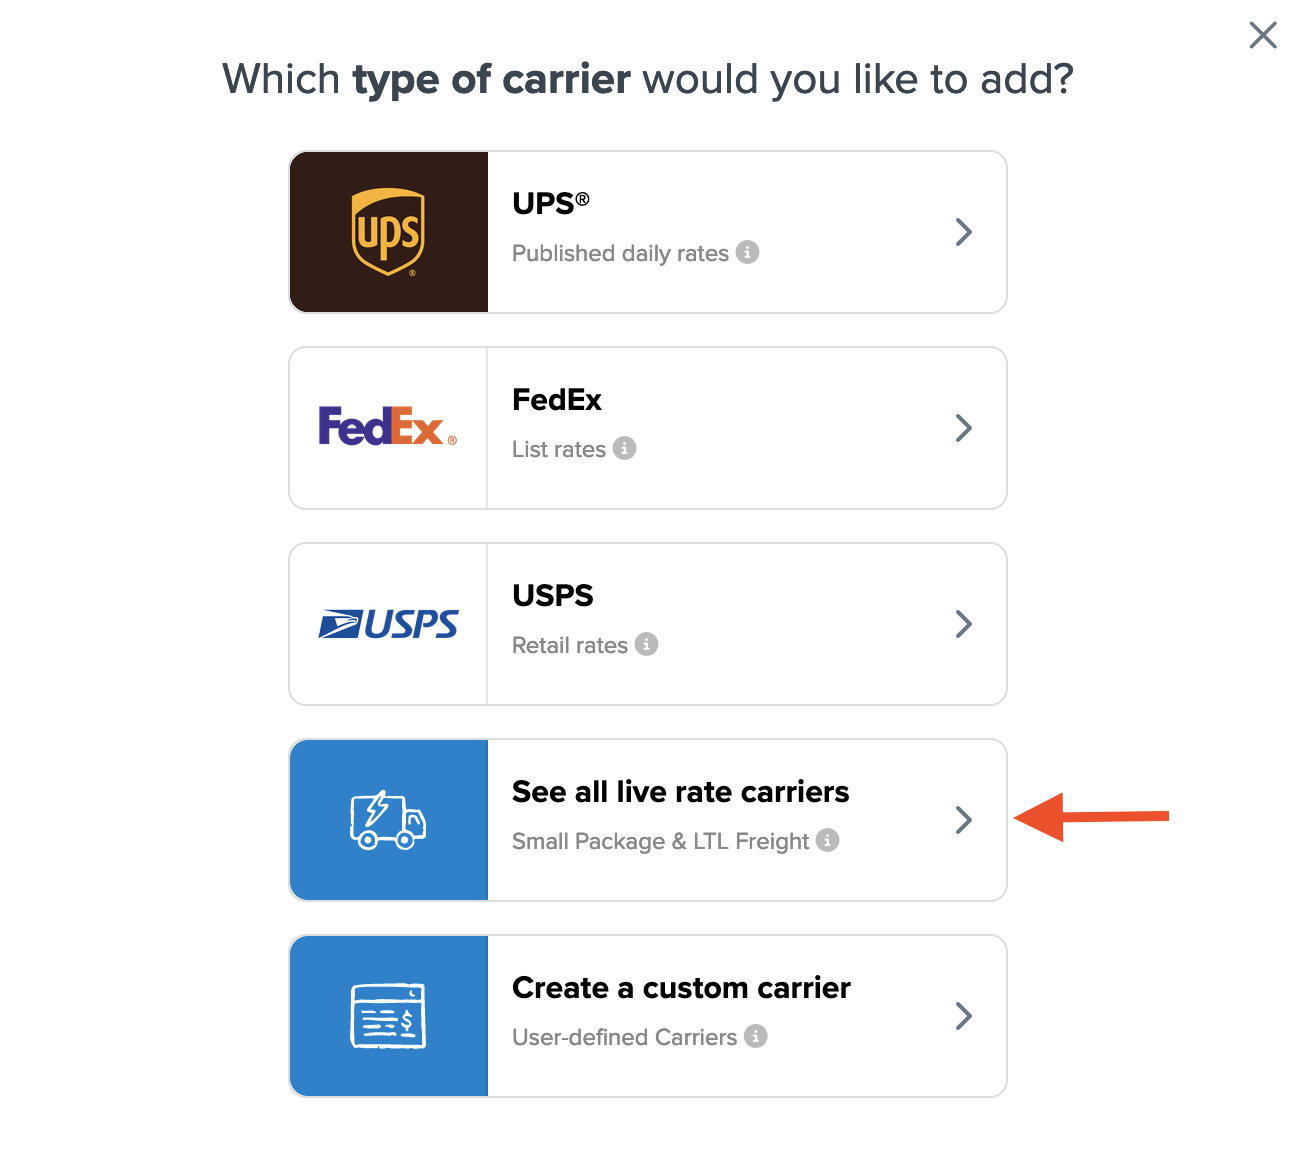
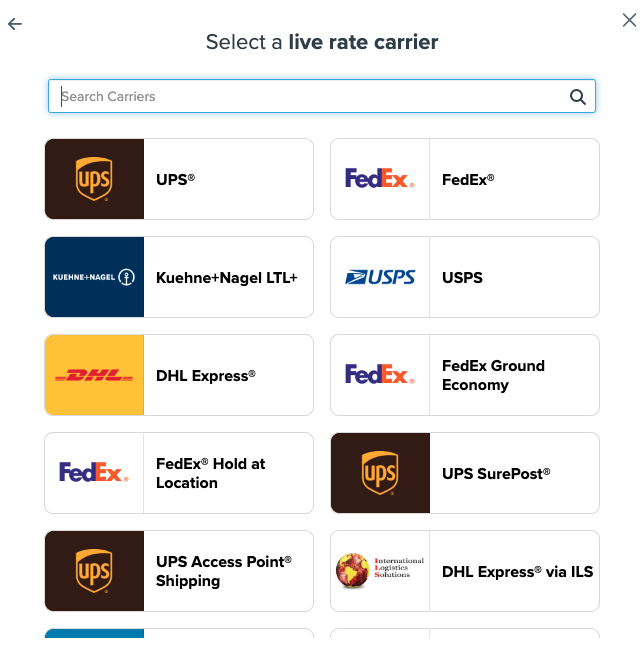
- Search for Sendle or scroll down to find Sendle from the list of available carriers.
- Click to continue connecting your carrier account to ShipperHQ.
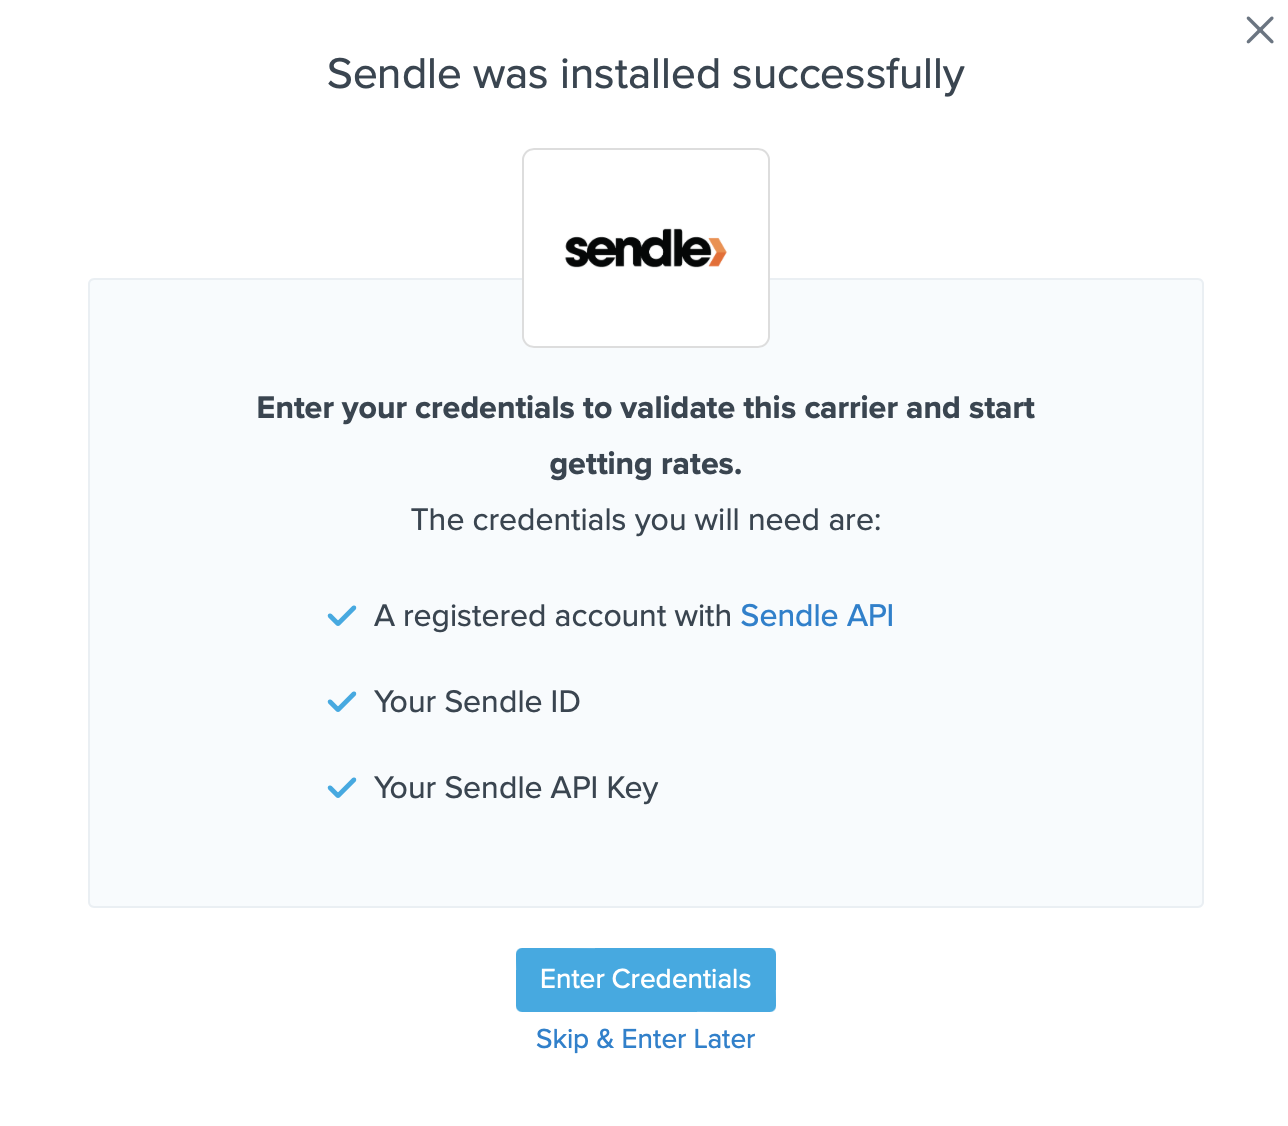
💡 Note, you can select the Skip & Enter Later option, but the Sendle live rates won’t be enabled until these credentials are entered. You're reminded to add your credentials if you skip the validation process. This validation is necessary for ShipperHQ to access your shipping account and rates.
Steps to Validate This Carrier
- Enter the following credentials provided by Sendle:
- Sendle ID
- Sendle API Key

- Once the details are entered, click the Validate button to complete the validation process.
If validation is successful, click the toggle button to enable the Sendle carrier.
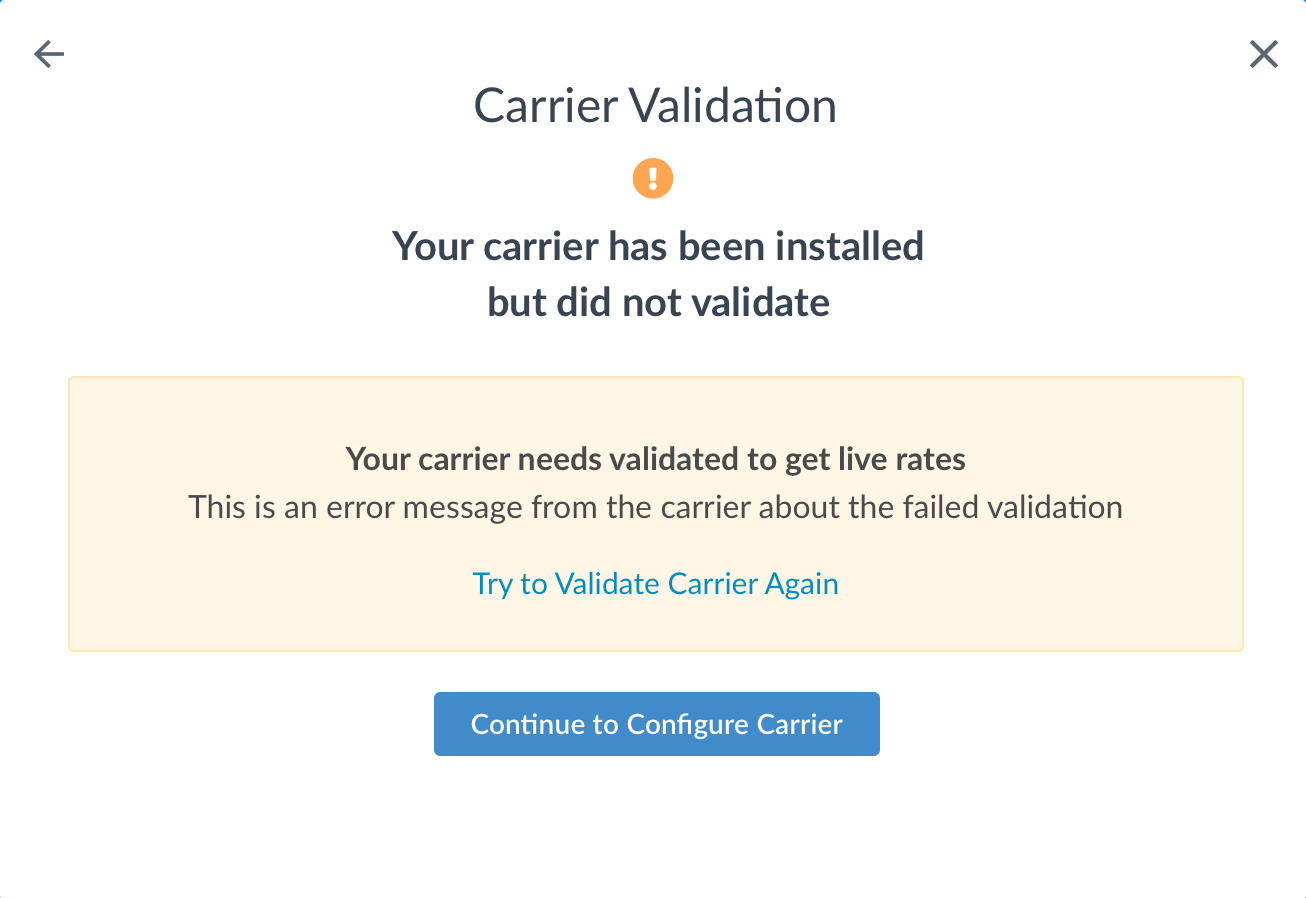
💡 If validation fails, please Contact ShipperHQ Support for assistance, or review and attempt to re-enter your credentials for accuracy.
- Click the Configure This Carrier button if the validation process is successful.
- Edit any settings for this carrier, then click Save to complete the setup.
- Your Sendle carrier is now enabled and ready for configuration.
Troubleshooting
Sendle not showing at checkout
Sendle only appears for orders from the United States, Canada, or Australia. Users from the US and Australia can ship domestically and internationally, while users from Canada can send domestically and to the U.S. only. If your products aren't shipping from any of these three countries, Sendle will not be available at checkout.
Installed but not validated
Your carrier is installed and configured, but not validated. Successful validation depends on the accurate entry of the required account information. Without the correct information, you cannot validate your carrier and receive live rates.